Maintaining your robot vacuum is essential to keep it running efficiently, extend its lifespan, and ensure your home stays clean with minimal effort. While these devices are designed for convenience, they still require regular care to avoid common issues like reduced suction, navigation errors, or mechanical wear. This comprehensive guide covers everything you need to know about robot vacuum maintenance, including cleaning routines, troubleshooting, and best practices.
Why Regular Maintenance of Your Robot Vacuum Matters
Regular upkeep is not just about hygiene-it directly impacts the performance and durability of your robot vacuum. Dust, pet hair, and debris accumulate over time, clogging brushes, filters, and sensors. This buildup can:
-
Maintain the suction power and cleaning efficiency of the sweeper
-
Cause navigation problems due to dirty sensors
-
Accelerate wear and tear on moving parts
-
Lead to costly repairs or early device failure
By following a consistent maintenance schedule, you ensure your vacuum cleaner operates smoothly and lasts longer, providing the best value for your investment.
Essential Maintenance Tasks and Frequency
Daily Tasks
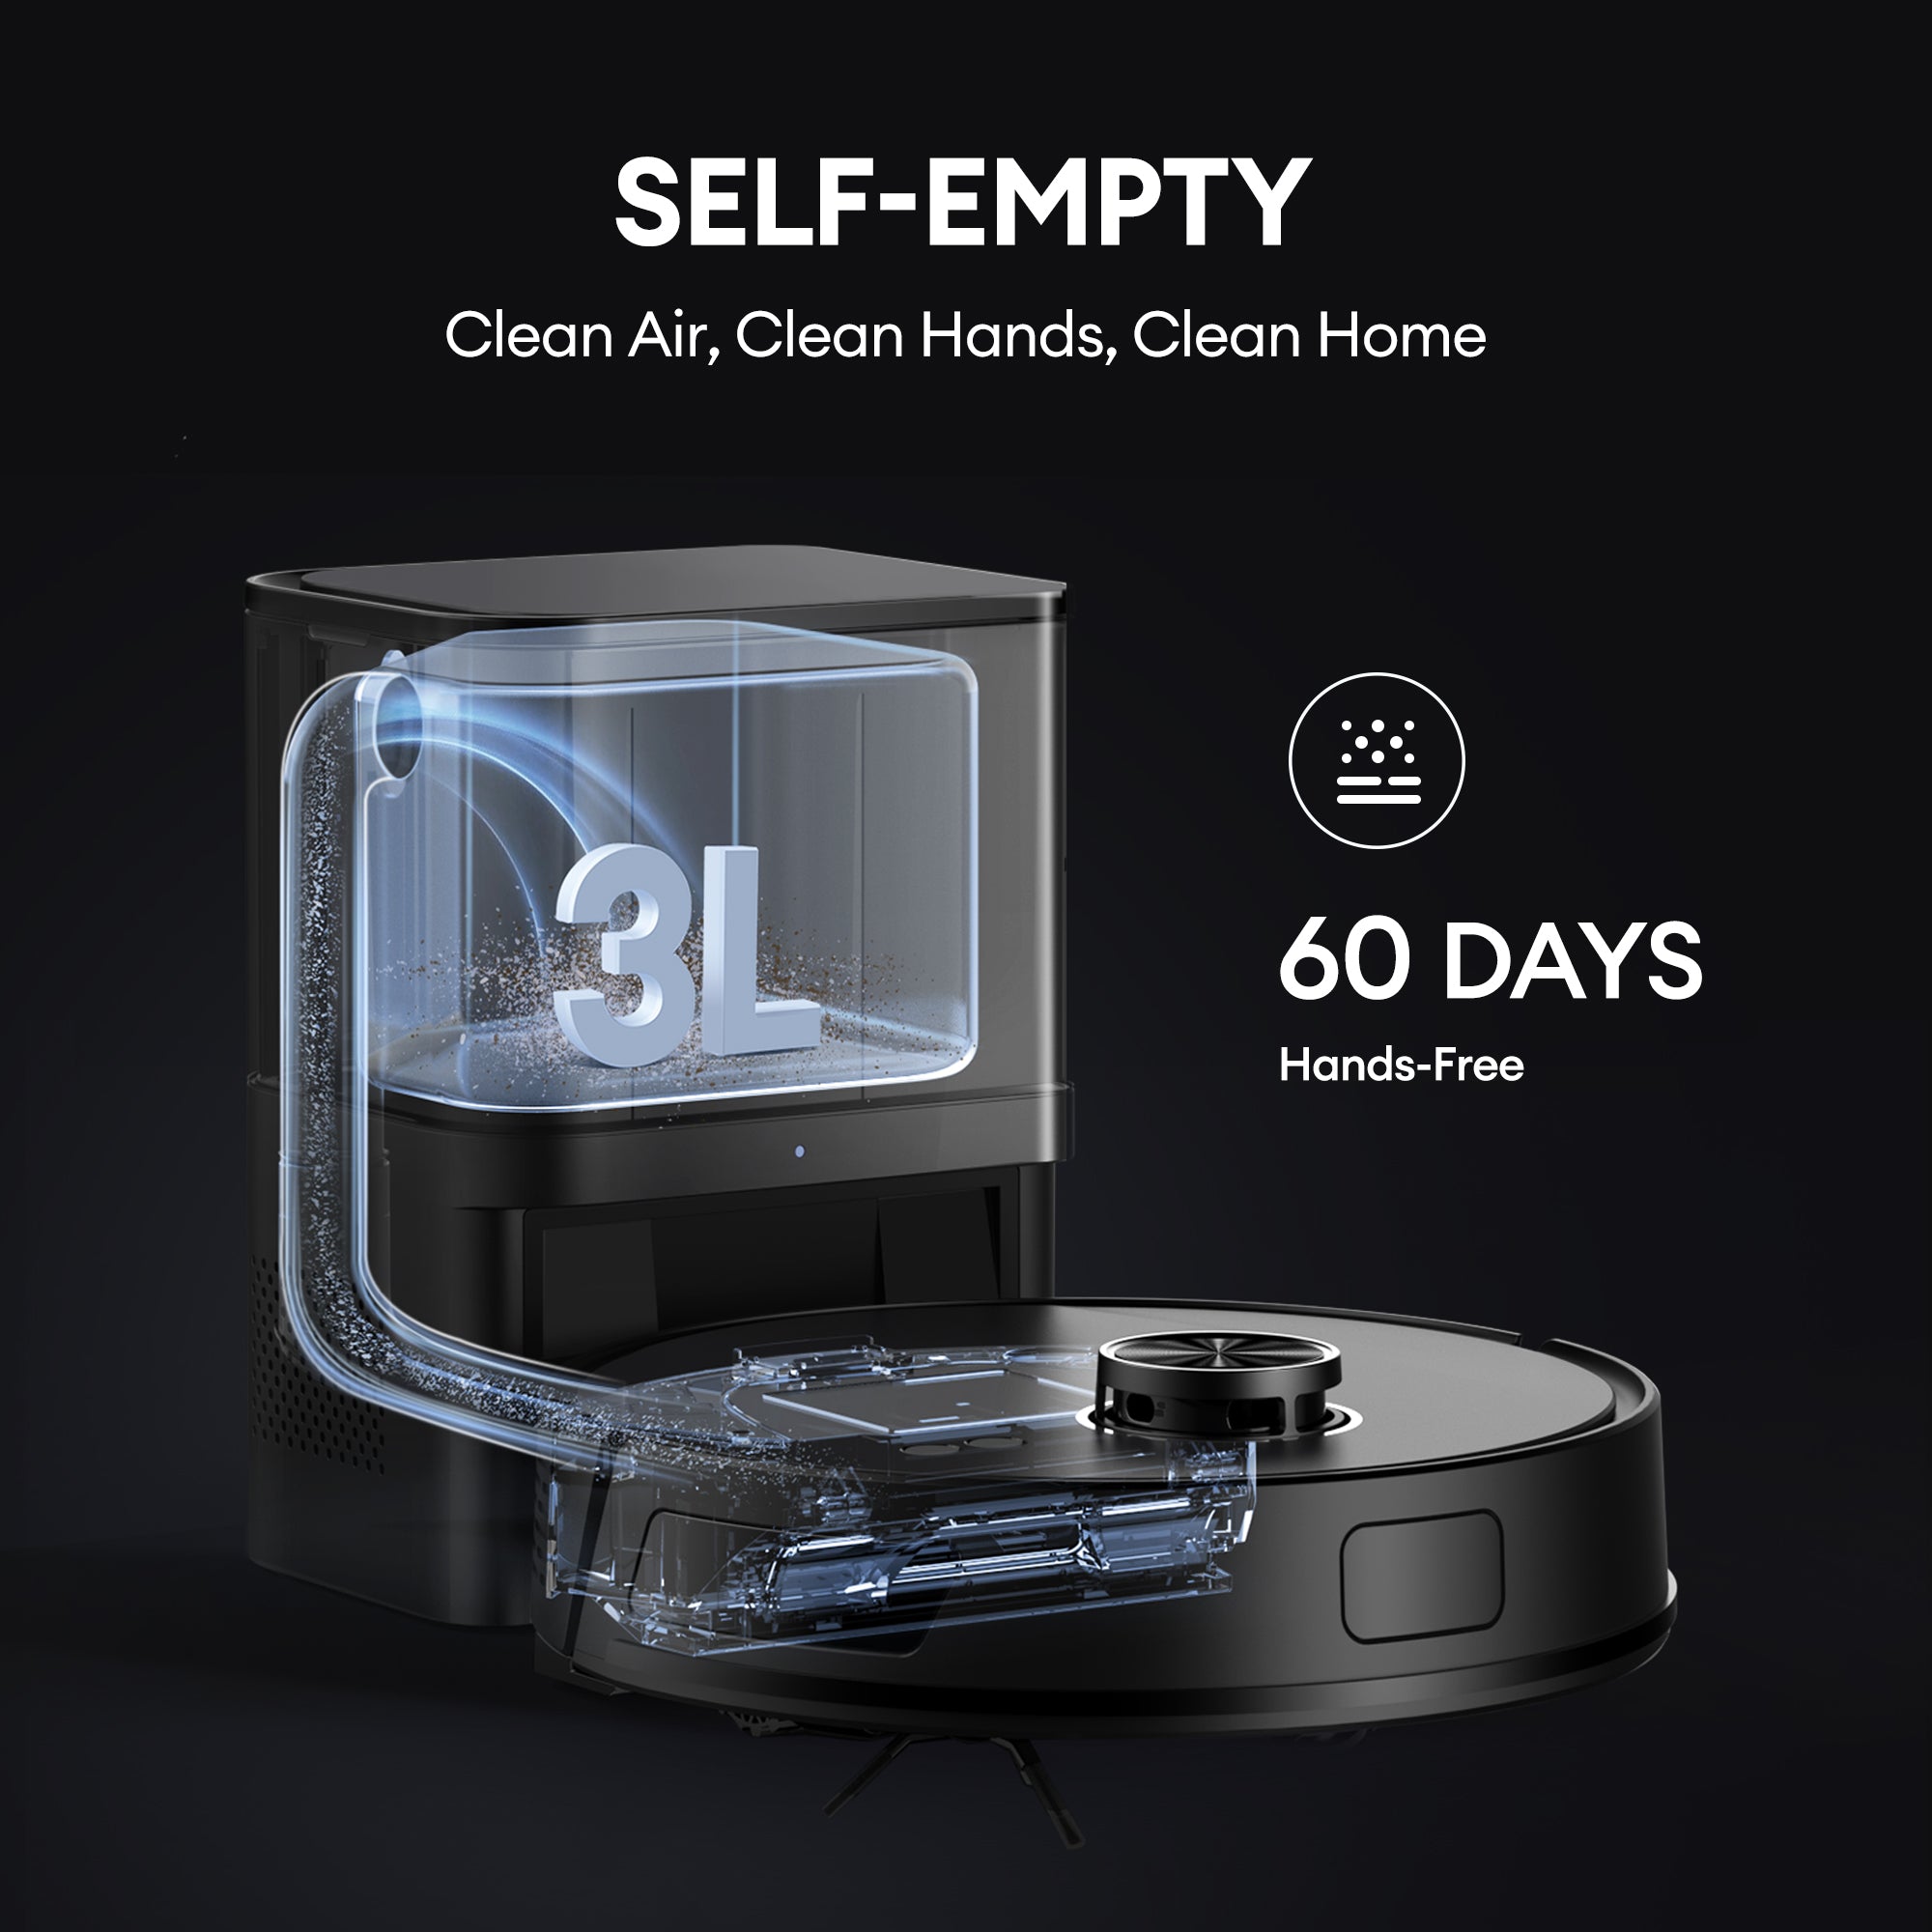
-
Empty the dustbin after every cleaning session to prevent clogging and maintain suction power.
-
Check wheels and brushes for tangled hair or debris that could hinder movement or cleaning.
Weekly Tasks
-
Clean brush rolls and side brushes by removing hair and dirt to prevent tangling and motor strain.
-
Wipe sensors and charging contacts gently with a soft cloth to ensure accurate navigation and proper docking.
-
Tap out or lightly clean filters to maintain airflow and suction.
Monthly Tasks
-
Deep clean brushes and rollers by removing them and washing or combing out debris thoroughly.
-
Inspect wheels and universal wheel for debris and ensure smooth rotation.
-
Clean cliff sensors and charging contacts to prevent navigation errors and charging issues.
-
Replace or wash HEPA and primary filters if washable, or swap out disposable ones to maintain air quality and suction.
Every 3-6 Months
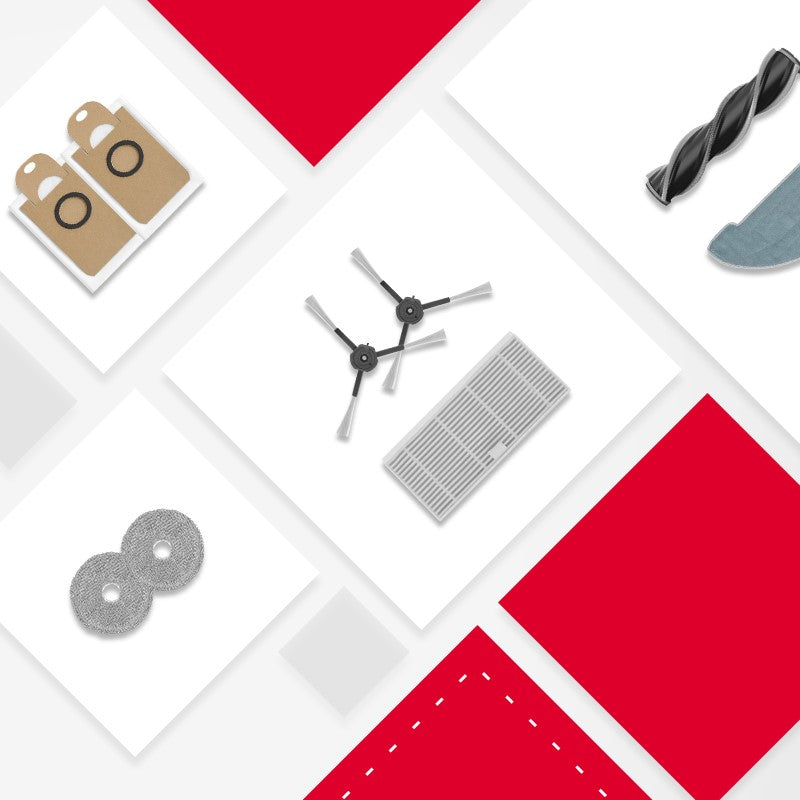
-
Replace worn-out parts such as brushes, filters, dust bags, and mopping pads (if applicable).
-
Consider professional maintenance if you notice persistent issues or reduced performance.
Detailed Maintenance Tips for Key Components
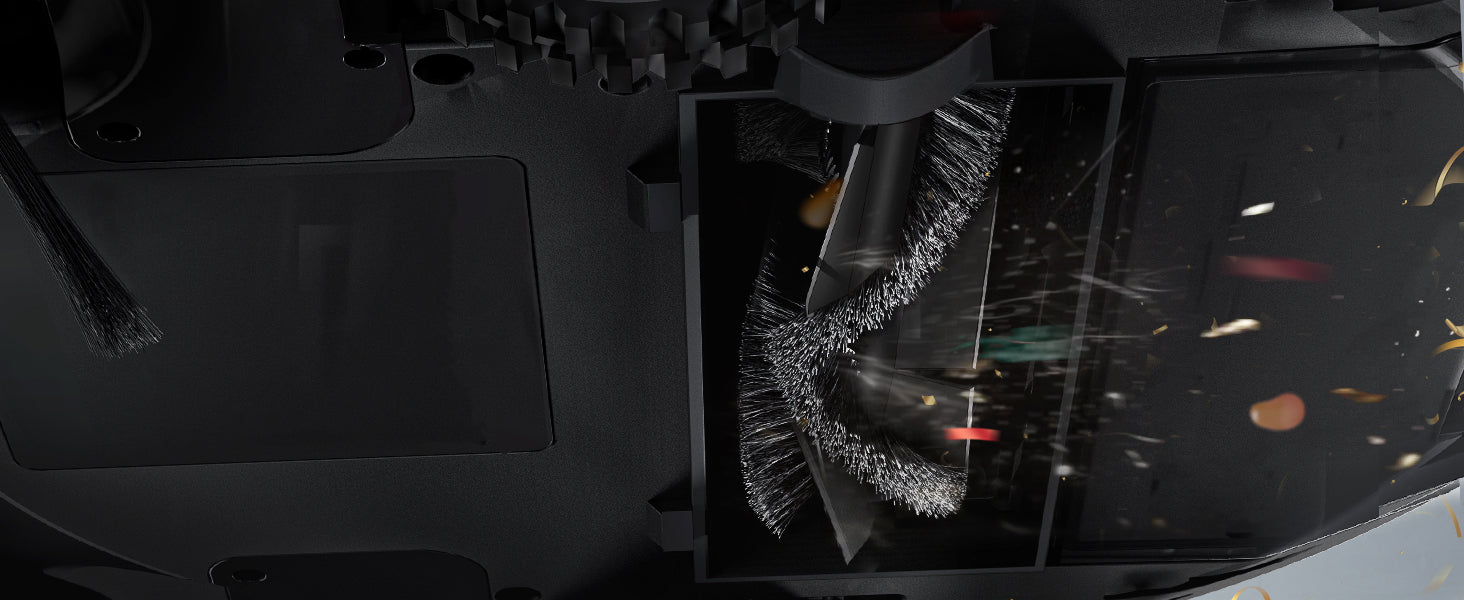
Brushes and Rollers
The brushes are the heart of your robot vacuum’s cleaning ability. Hair, string, and dust can quickly entangle the brush rolls and side brushes, reducing efficiency and stressing the motor. To maintain them:
-
Remove and clean side brushes weekly.
-
Cut away tangled hair and comb out debris from roller brushes monthly.
-
Ensure brushes are securely reattached and spin freely after cleaning.
Filters
Filters trap fine dust and allergens, so keeping them clean is crucial for suction and air quality. Depending on your model:
-
Tap out or vacuum filters weekly.
-
Wash washable filters monthly and allow them to dry completely before reinstalling.
-
Replace disposable filters every 3-6 months or as recommended by the manufacturer.
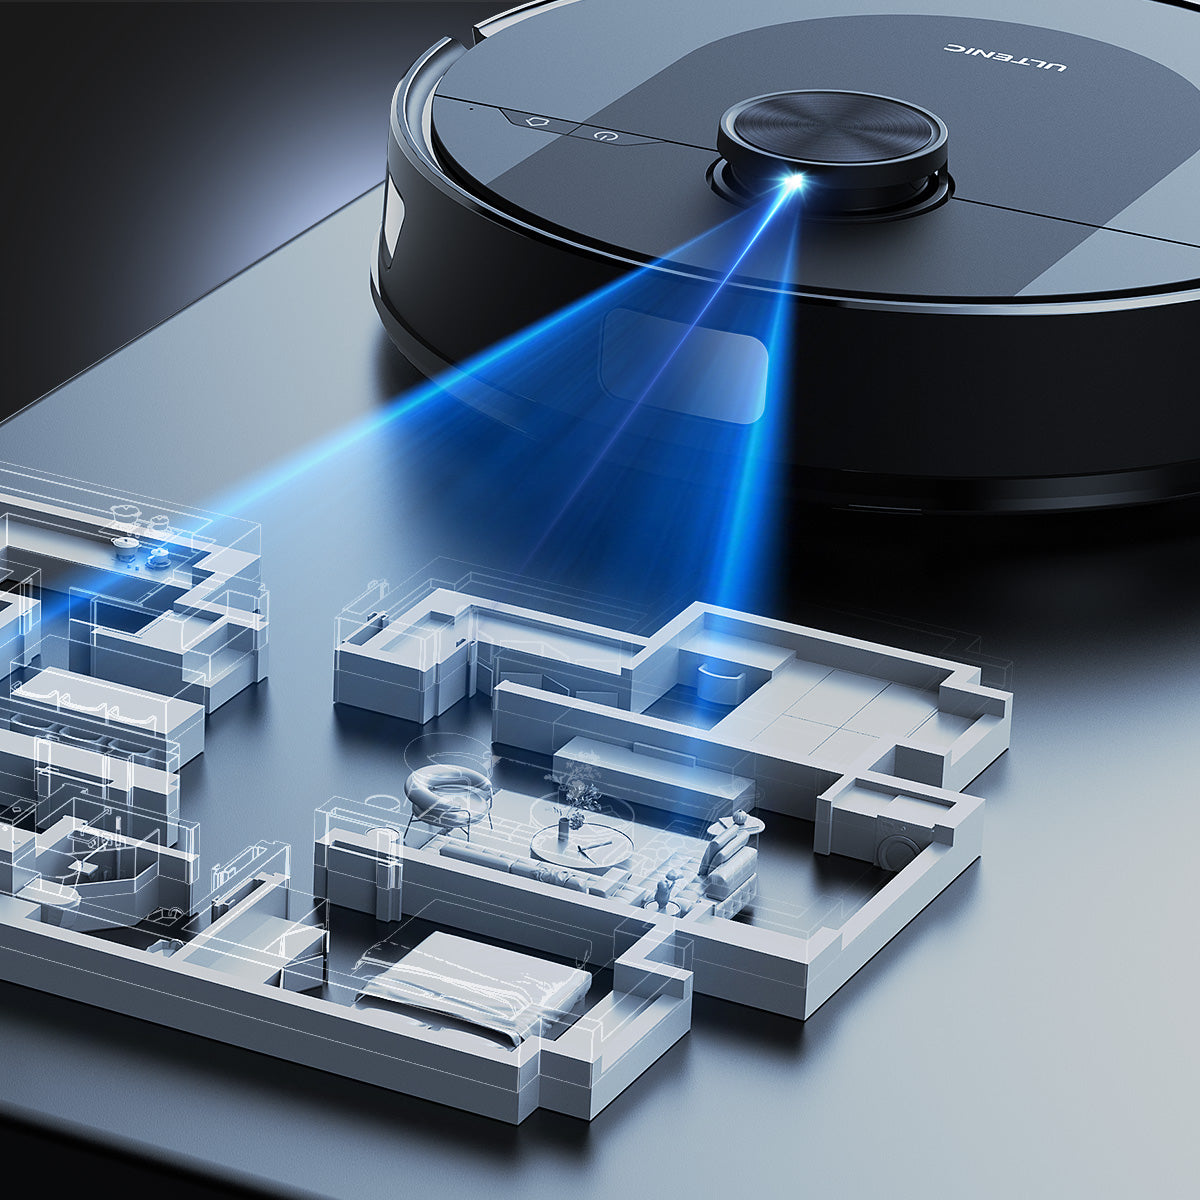
Sensors and Wheels
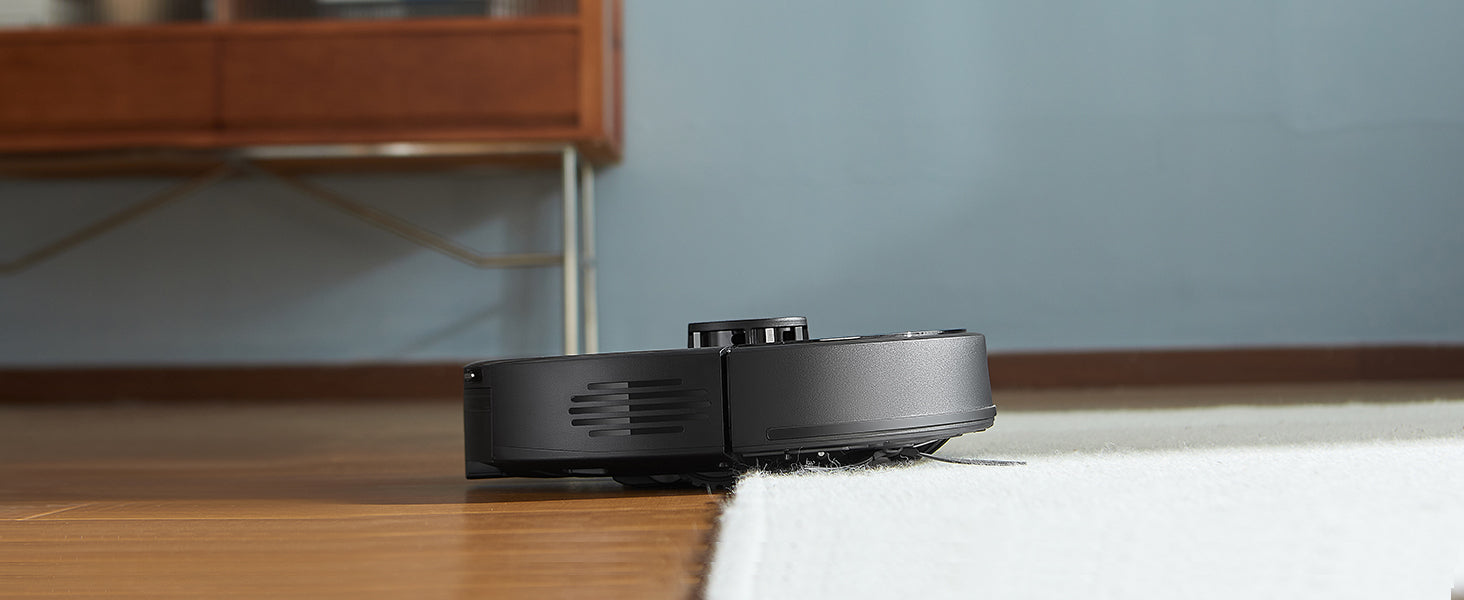
Sensors guide your robot vacuum around your home, avoiding obstacles and stairs. Dirty sensors can cause erratic behavior or missed spots. Including the LiDar sensor for navigation, for any grime or stains that may be interfering with them. Similarly, wheels clogged with debris can jam or slow down the device.
-
Wipe sensors gently with a microfiber cloth weekly.
-
Clean wheels and remove any hair or dirt to ensure smooth movement.
-
Check that wheels rotate freely and are not damaged.
Battery and Charging Dock
Battery health is vital for uninterrupted cleaning sessions.
-
Keep charging contacts on both the dock and vacuum clean and free of dust.
-
Place the charging dock in an open, accessible area to ensure proper docking.
-
Allow the battery to complete full charge cycles periodically to maintain capacity.
-
If battery performance declines, consider replacing the battery following manufacturer guidelines.
Troubleshooting Common Robot Vacuum Issues
Robot Gets Stuck or Misses Spots
-
Clear floors of cords, small objects, and low furniture that might trap the vacuum.
-
Use virtual walls or boundary markers if your model supports them.( Using Ultenic App)
-
Ensure sensors are clean and functioning properly.
Reduced Suction Power
-
Empty the dustbin frequently.
-
Clean or replace filters and brushes regularly.
-
Check for blockages in suction pathways.
Navigation Errors or Erratic Movement
-
Clean sensors and bumper pads.
-
Inspect wheels for debris or damage.
-
Update firmware/software via the companion app to fix bugs.
Battery or Charging Problems
-
Clean charging contacts.
-
Ensure dock placement is optimal.
-
Replace battery if it no longer holds charge well.
Best Practices to Extend Your Robot Vacuum’s Life
-
Stick to the manufacturer’s maintenance schedule and use first-party replacement parts to ensure compatibility and performance.
-
Avoid excessive use on rough or uneven surfaces that can wear out brushes and wheels faster.
-
Store the vacuum in a cool, dry place when not in use, ideally with the battery charged to about 50%.
-
Regularly check for software updates to improve navigation and functionality.
-
Schedule professional maintenance annually if possible, especially for high-end models.
Conclusion
Maintaining your robot vacuum is a straightforward but essential routine that ensures your device cleans effectively and lasts for years. By regularly emptying the dustbin, cleaning brushes, filters, sensors, and wheels, and caring for the battery and charging dock, you prevent common problems and costly repairs. Thoughtful maintenance combined with proper usage will keep your robotic cleaner running smoothly, providing you with hands-free convenience and a cleaner home environment.

